Electrical
Gauges - Removing Late 944 (1985.5 and newer) Gauge Cluster
This guide is preserved from Clark's Garage, a foundational 944 resource. View the original →
Tools you'll need
See the full tools list for where to buy each one and budget alternatives.
Tools
- Phillips Screwdriver
- 24 mm (or 15/16”) socket and ratchet
- Scribe, paint pen, or brightly colored nail polish
Procedure
-
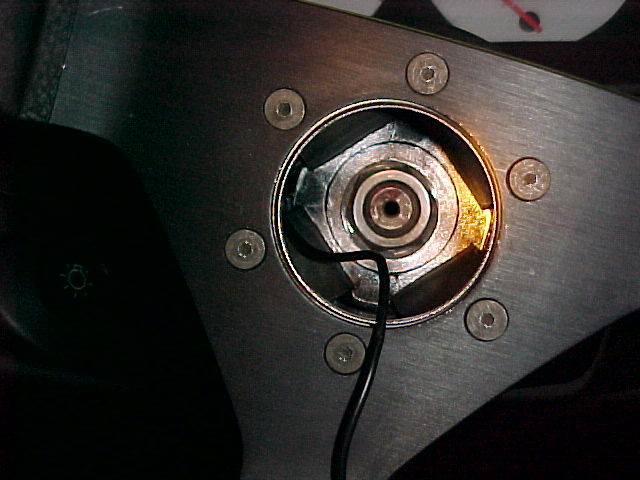
Remove the horn button from the steering wheel and disconnect the electrical spade connector on the back of the horn button.
-
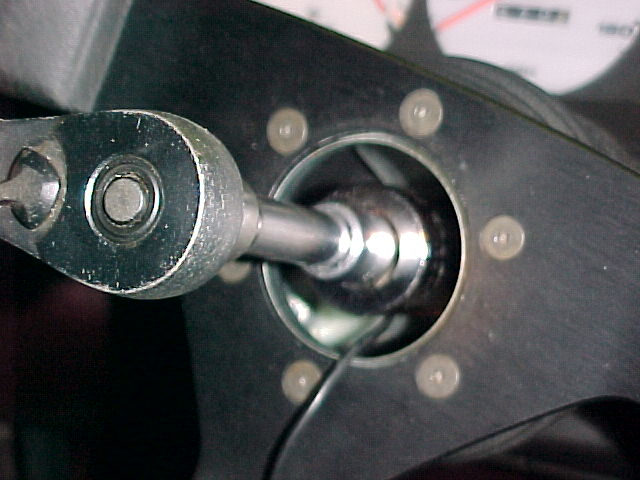
Using a 24 mm (or 15/16”) socket and ratchet, remove the steering wheel retaining nut and washer.
-
Using a scribe, paint pen, or nail polish, mark the orientation of the steering wheel to the end of the steering shaft. This will facilitate easier installation during re-assembly.
-
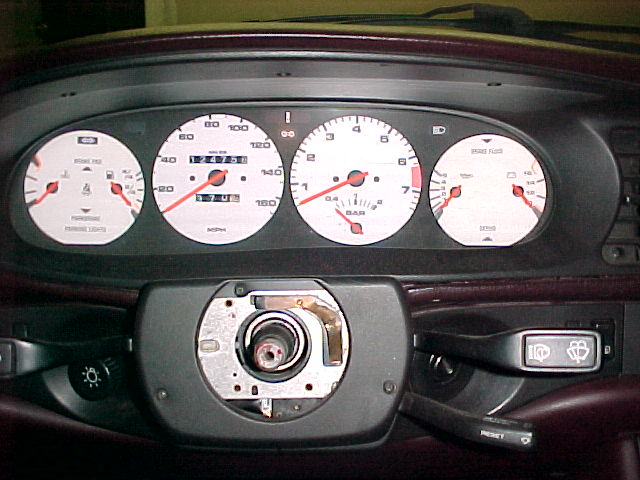
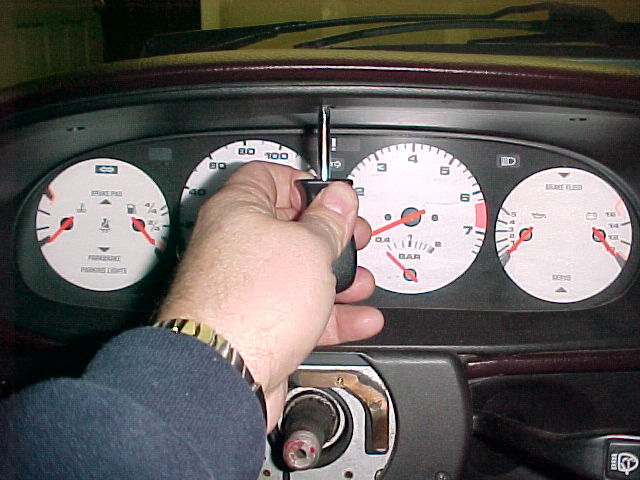
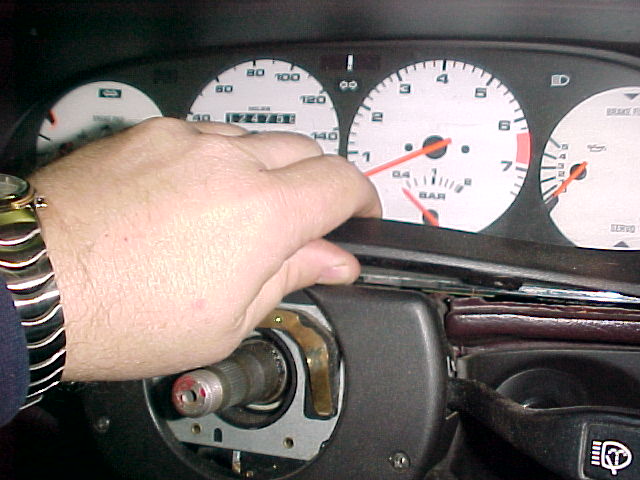
Pull the steering wheel off the steering shaft. As you can see from the picture below, this will make the gauge cluster removal much easier.
-
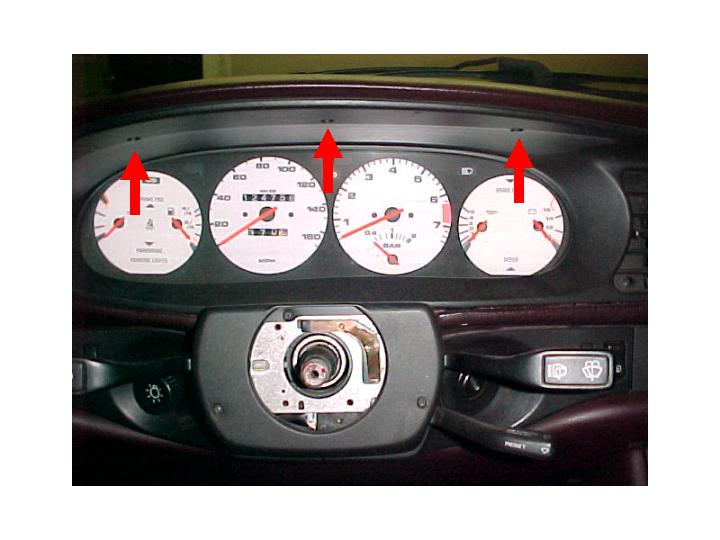
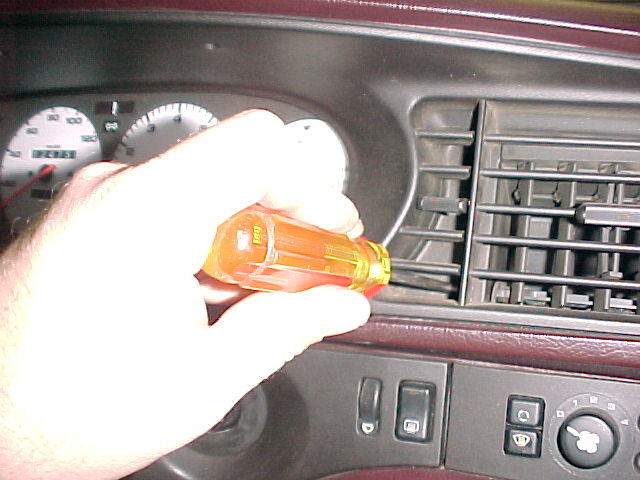
Remove the three Phillips head screws located in the top of the plastic trim piece around the gauge cluster. A stubby Phillips head screwdriver works well here.
-
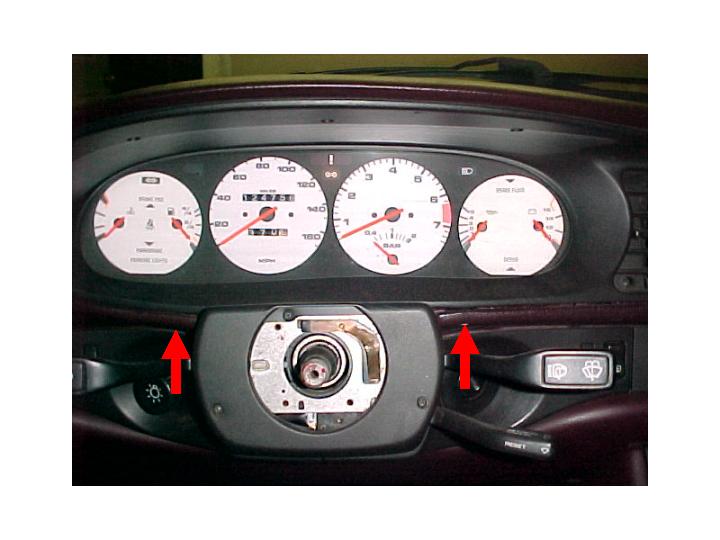
Remove the two Phillips head screws which thread into the plastic trim piece from the bottom on either side of the steering column.
-
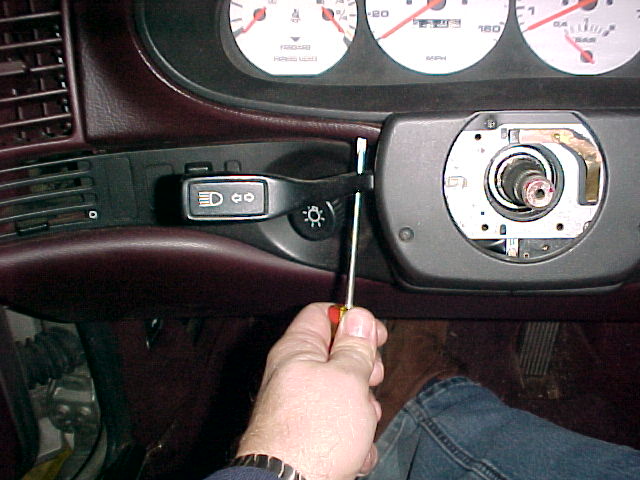
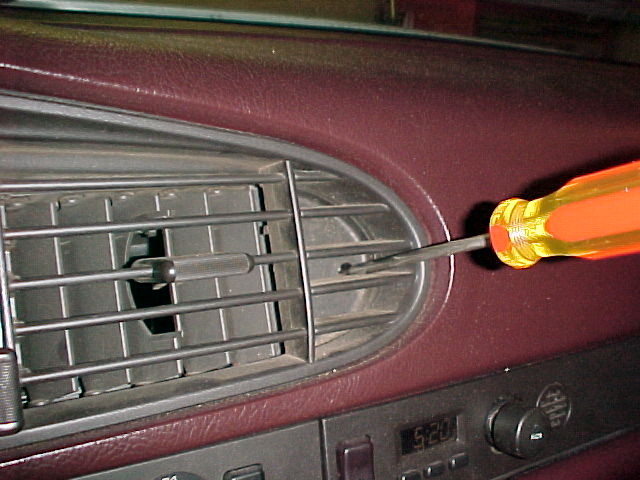
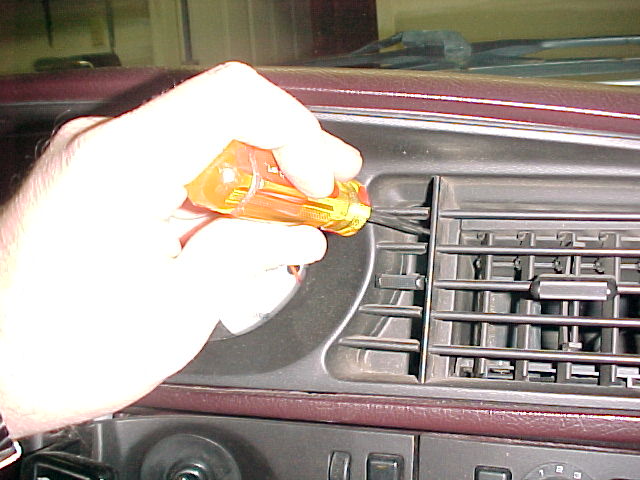
The vents in the center of the dash are an integral part of the trim piece surrounding the instrument cluster. There are several Phillips screws located in the vents which must be removed to remove the instrument cluster trim piece. There is one Phillips head screw located in the vent area to the far right of the instrument cluster. There are two more Phillips head screws located in the vent area closest to the instrument cluster. Remove all three of these screws.
-
Lift up on the bottom edge of the trim piece right behind the steering column trim piece. This will allow the gauge cluster trim top of the steering column. You may also need to pull down slightly on the top of the trim piece to clear the dash. The instrument cluster trim piece should now slide out of the dash.
-
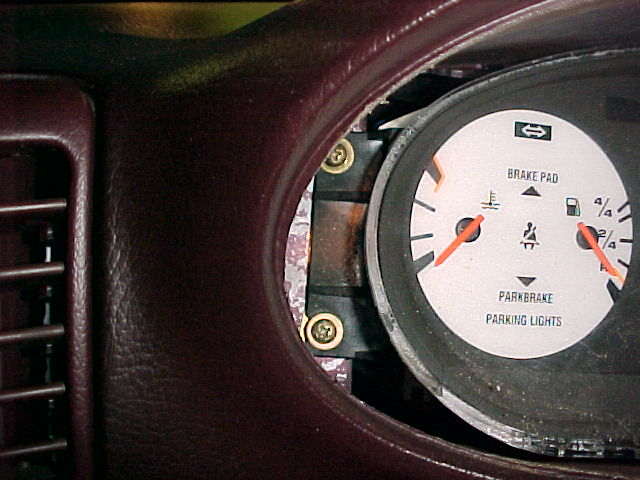
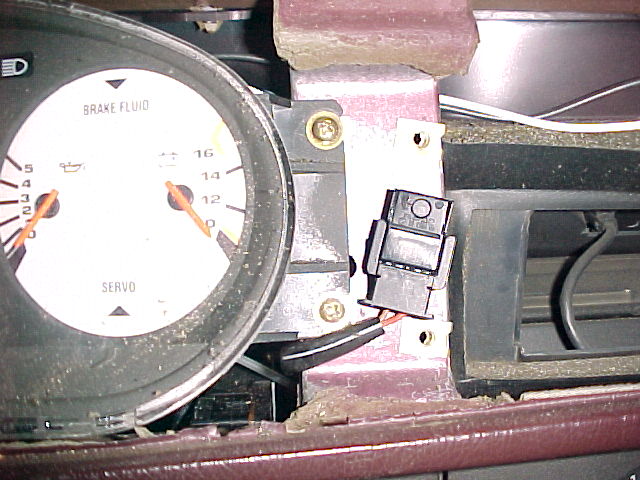
With the trim piece removed, you will now see the four Phillips head screws which hold the gauge cluster in the dash. Remove the screws and slide the cluster forward to access the electrical connectors on the back of the cluster.
-
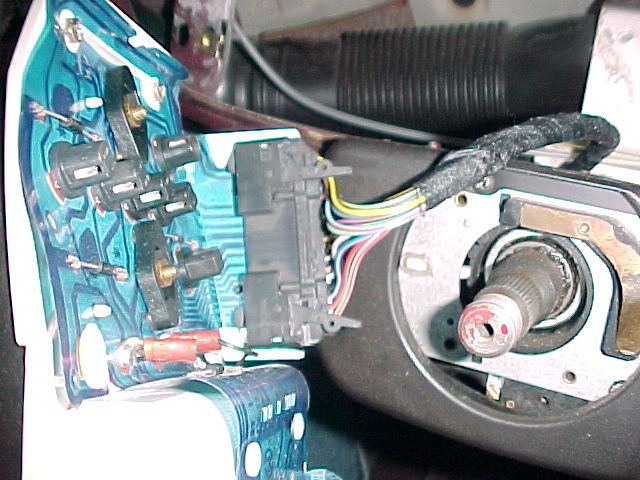
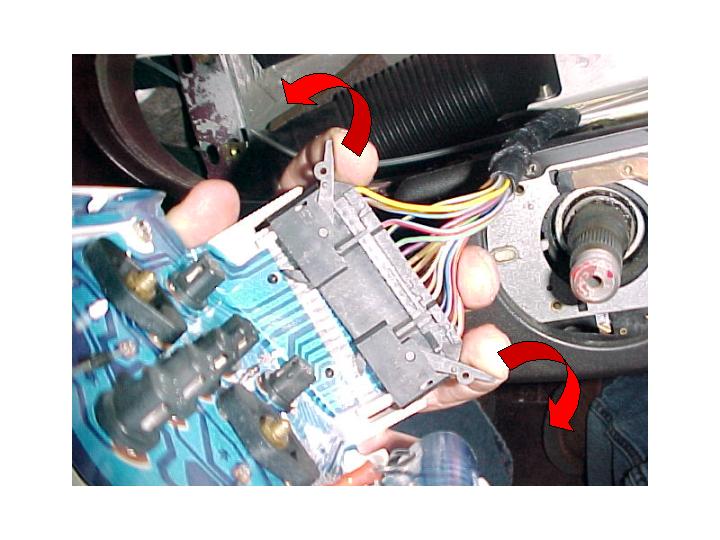
Slide the cluster forward enough to reach the electrical plug connectors on the back of the cluster. Be extremely careful when moving the cluster around and removing it. There is a ribbon circuit board on the back which can easily hang on the edges of the openings in the dash and tear (don’t ask how I know). There are three electrical connectors on the back of the cluster. Each has a set of locking levers that hold the plug connector onto the back of the cluster. Push outward on the levers to release each connector and remove it from the back of the cluster.
-
The instrument cluster will now slide out of the dash. You may have to tilt the cluster back slightly and slide on end out first. You may also need to push up on the instrument cluster opening in the dash to provide enough clearance to slide the cluster out. Be patient. Do not rush. Again, be careful of the ribbon circuit board on the back of the cluster.
-
Installation is the reverse of removal.